If you’ve recently got Procreate or you’re just wondering how good the default brushes are, you’ve come to the right place.
Procreate has over 200 helpful default brushes that you can use for your digital artwork.
Many artists swear by these default brushes and keep on using them for professional work!
But which ones are the best default procreate brushes? As with everything, it all depends on the kind of illustration you’re doing.
But here’s a list of what I think are the best brushes in Procreate:
- Derwent
- Studio Pen
- Shale Brush
- Round/Flat Brush
- Blackburn
- Lightpen/Lightbrush
- Noise
Each has different uses, so let’s look deeply into them!
Table Of Contents
1- Derwent
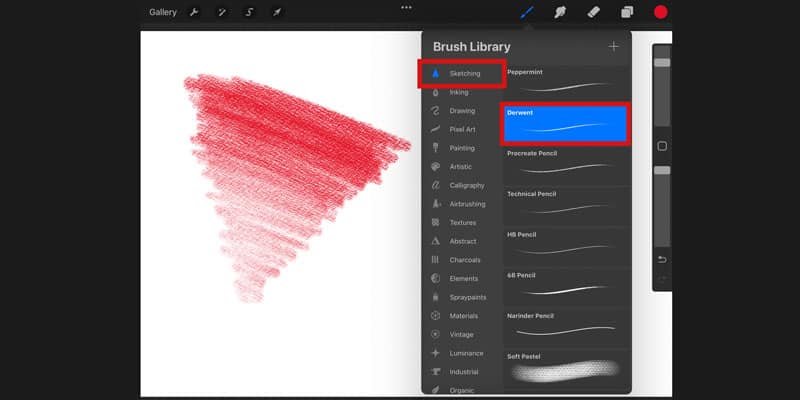
Procreate has many sketching brushes; however, I think Derwent truly shines among them.
It has a nice texture that reminds me of coloring pencils. Whenever I sketched traditionally, I picked up the habit of using a red coloring pencil.
Going to Procreate, it felt good finding something similar!
Like most brushes, your lines will be more or less visible depending on how much pressure you apply to the pencil. However, this is not the kind of brush that is too sensitive to pressure.
This makes it perfect for simple sketches that will become clean line art later.
And if you’re still wondering if you can sketch easily in procreate (and how to make your own sketching brush) check out this article!
2- Studio Pen
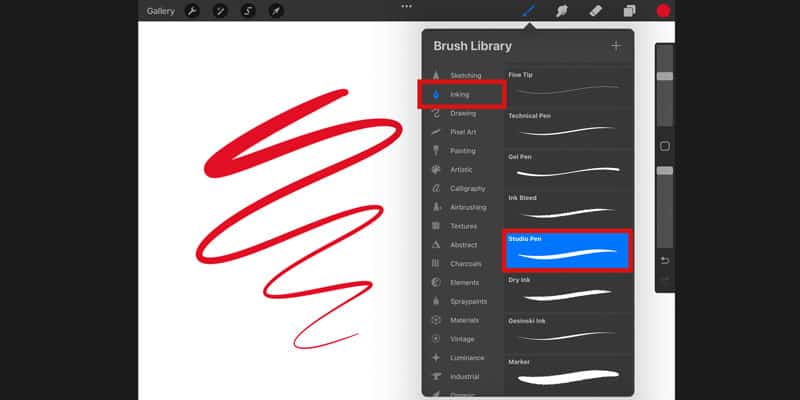
Speaking of line art, this is my absolute choice when it comes to it.
The Studio Pen is very smooth to the touch and creates a thicker or thinner line, depending on how much pressure you apply.
Again, it’s not a very sensitive brush, so your lines won’t have a significant thickness variation.
Of course, it all depends on your style, but for a beginner, having an easy brush can be very helpful!
3- Shale Brush
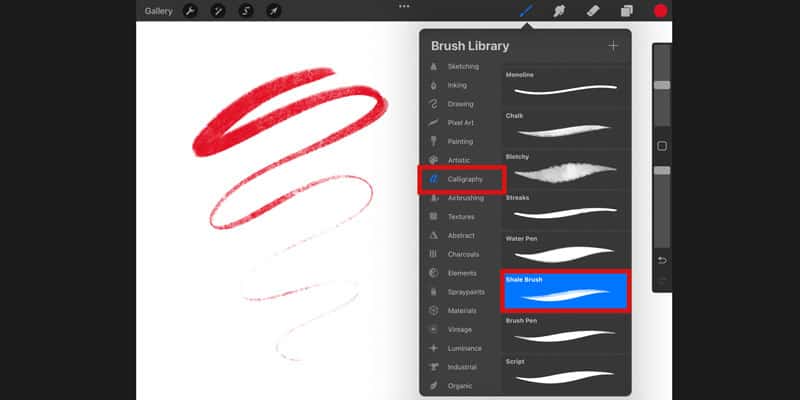
If you’re planning on doing calligraphy work on Procreate, the Shale Brush is perfect!
All calligraphy brushes on Procreate have lots of stabilization to help you draw your letters as perfectly as possible.
The Shale Brush is excellent due to its soft texture, making your letters look even more enjoyable.
If you struggle with wobbly lines, a calligraphy brush can also help at the beginning!
Although you can change the settings of any brush, there’s a significant number of brushes that can already suit your needs.
If you have trembling hands for any reason, don’t be afraid to use such brushes to make your life easier!
4- Round/Flat Brush
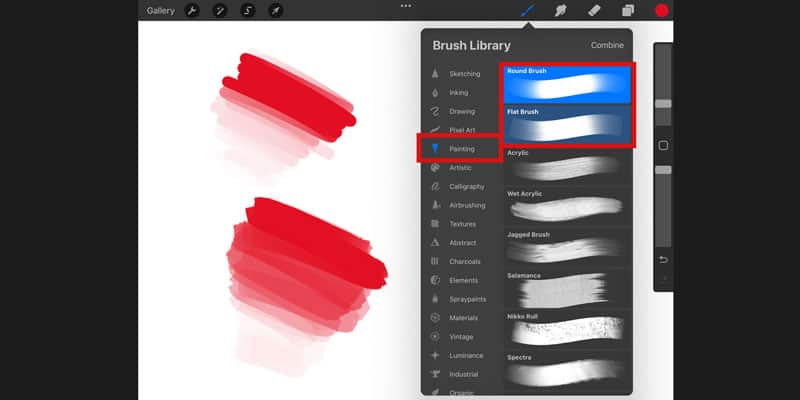
The Round and Flat brushes are very similar; the only difference is the shape. As the name entails, one is round, while the other is squarer.
This brush is handy if you like to paint while blocking bigger shapes and adding details as you go instead of using lines!
Depending on the pressure you apply with your pencil, this brush will be more or less opaque.
Because of that, this brush is very versatile! Due to its versatility, many artists use this brush for most of their work.
You can create your overall shapes and add value to the painting as you go. This way, you can have a very balanced composition without changing your tools all the time.
For example, I like using this brush when applying shading/coloring to studies from reference. It’s quick and efficient!
5- Blackburn
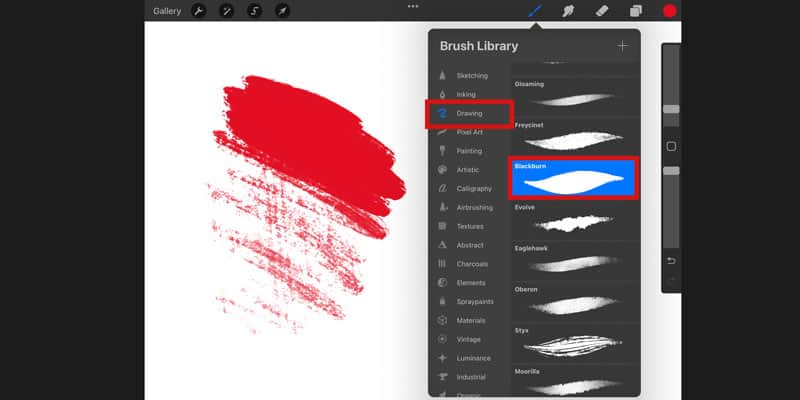
Another one of my favorites. This one also has a more painterly style but is very blocky. This is an excellent brush because you can use it for line art and painting.
Not only that, but this brush has a fascinating texture.
Depending on how hard you press your pencil, you can make your drawing more solid or textured.
This makes for a very interesting effect; you don’t need to change brushes while working. Just apply different pressure according to the result you want!
6- Lightpen/Lightbrush
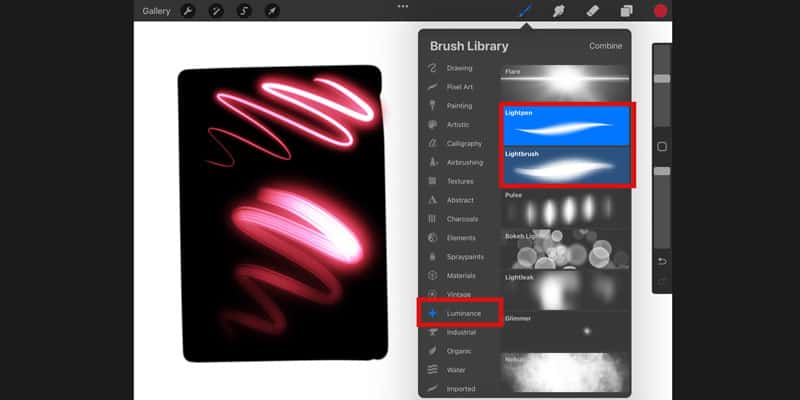
This is a fun one! Sometimes we might want to add a shiny effect to our work.
Maybe it’s a neon sign, a sparkly dress, a particular glow in some object, or even someone’s eyes!
You can make this effect in most drawing software.
It usually involves copying and pasting a few layers, adding different effects, and, long story short, too many steps!
In Procreate, there’s a specific brush for that. There are two options: Lightpen or Lightbrush, depending on your needs.
The Lightpen works better for smaller details and line art, while the Lightbrush is slightly more textured and can cover more area.
You’ll find both of these brushes inside the Luminance category. Once you use them, you’ll notice they will immediately apply a certain glow to your work. Go there and have some fun!
7- Noise
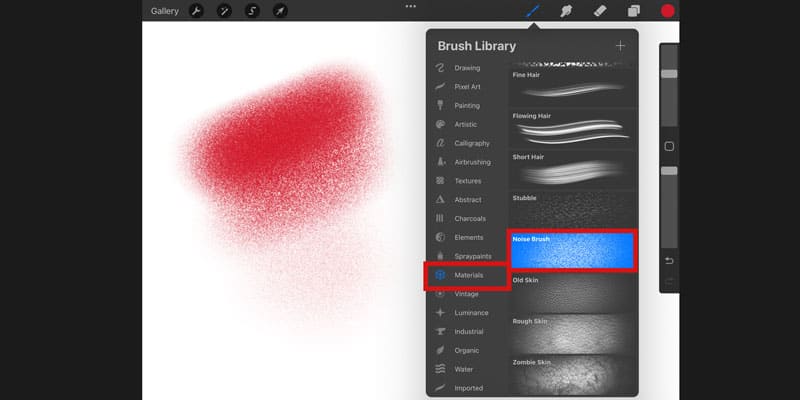
There’s a large number of brushes that will mimic a particular texture or material. Be it hair, clouds, fire, and even water!
But my favorite among them is the Noise brush. Sometimes we want to add just a bit of texture to our work to make it pop up a bit more.
Adding some noise is always a quick and easy way of doing that! Procreate has a tool to add Noise to your whole canvas or a specific selection you’ve made.
Procreate can be a bit complex to learn, as we mentioned before.
However, sometimes we just want to add such texture to smaller areas or particular details. And that’s where the noise brush comes in!
For example, one of my favorite uses is to add shading to clothing by using the noise brush. Shadows and texture in one stroke.
What Is The Most Popular Brush In Procreate?
Everyone is different and has different styles or preferences. Therefore, it’s not easy to pinpoint the most popular brush to use in Procreate.
However, a few default brushes seem to be more popular. I’ve seen a lot of people giving some preference to the Derwent brush when it comes to sketching, for example.
The Round and Flat brushes are also popular due to their versatility.
Not only that, but also because it’s very similar to the Soft Round brush found in Photoshop.
Now, of course, there are several brushes and brush packs that you can download.
Even though Procreate offers a lot of choices, many artists prefer to create their own brushes or add other materials!
An example is the Procreate Watercolor Kit, found on Creative Market. Watercolor is always a trendy painting style due to its softness.
And this pack brings over 25 brushes, along with some tutorial videos, so you can create beautiful watercolor paintings that almost look like the real deal!
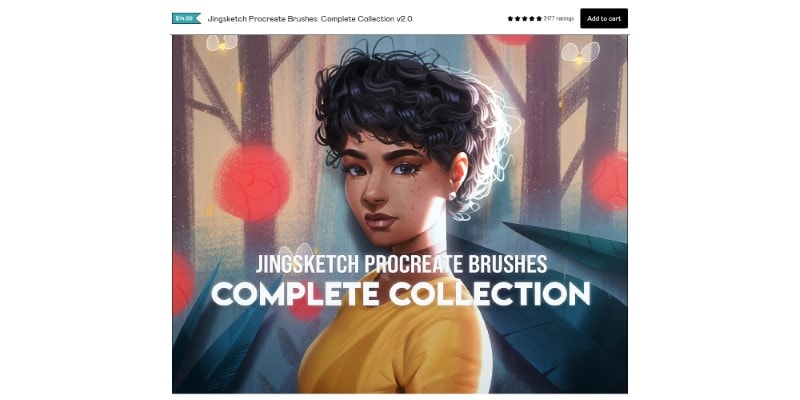
Another great example is Jingsketch. This artist is very well known for their brush packs available on Gumroad.
Inside the art world online, I’ve only heard good things about their brushes; I even own one of them and use it quite often.
You can download a free brush pack from Jingsketch, so you can try some of their brushes first and maybe decide on a bigger pack later.
Finally, suppose you’re looking for hair brushes to make your life easier. In that case, a very popular artist focuses on that!
Vegalia has several brush packs for different drawing software, including Procreate.
You can find it all: locks, curly, wavy, and straight hair, you can find it all!
These packs are pretty affordable and will come in handy if you tend to draw many people and characters.
How Many Default Brushes Are In Procreate?
It might not seem like it at first glance, but Procreate comes with many brushes.
Upon opening the Brush Library, you can find 18 Brush Sets: Sketching, Inking, Painting, Drawing, Textures, Materials, and so on.
These brush sets divide all the brushes into different categories, depending on their specific use.
All in all, Procreate has more than 200 brushes available for you to use.
I do recommend you try them out before downloading any other brush. There is a lot to experiment with, and you’ll probably find everything you need immediately.
Who knows, maybe you’ll find your new favorite brush!
Not only that, but Procreate brushes are actually very customizable, and it’s straightforward to do it. So even if a specific brush is not yet up to your liking, you can tweak it until it feels right.
If even then, you want or need something specific, then it is indeed time to look for something else.
Even though I like most sketching brushes on Procreate, none of them felt right. I am used to a particular texture and smoothness when sketching my drawings.
Therefore, I asked my peers for recommendations and eventually found something I enjoyed using.
This might make you feel like you’re just being too picky, but it’s crucial for you to feel comfortable with the brushes you’re using.
Of course, several things might feel alien when starting to use new drawing software. After some use, you begin to get used to its hang and feel.
However, if you just can’t get used to a brush, don’t hesitate to look around and see what else is there for you!
What Are The Best Default Procreate Brushes For Sketching?
Sketching in Procreate is quite fun. Before owning an iPad, I would draw most of my sketches with pencil and paper and then scan them to continue the drawing digitally.
However, the iPad and Procreate are so easy and intuitive to use that I just go through my whole drawing process with them!
I feel quite a few options are the best for Sketching Brushes.
As mentioned before, the Derwent brush has a nice texture. In the same category, I’d say to give Peppermint a try as well.
It’s very similar to Derwent, but with a cuter name!
Even though Procreate has its own Sketching Brush set, nothing stops you from trying other brushes when sketching.
For example, I’m pretty fond of the Dry Ink brush. It has a nice texture and feels very smooth. You can find it in the Inking category.
If you prefer sketching by painting big blocks and shaping things from there, it’s worth giving Vine Charcoal a try! You can find this one in the Charcoal section.
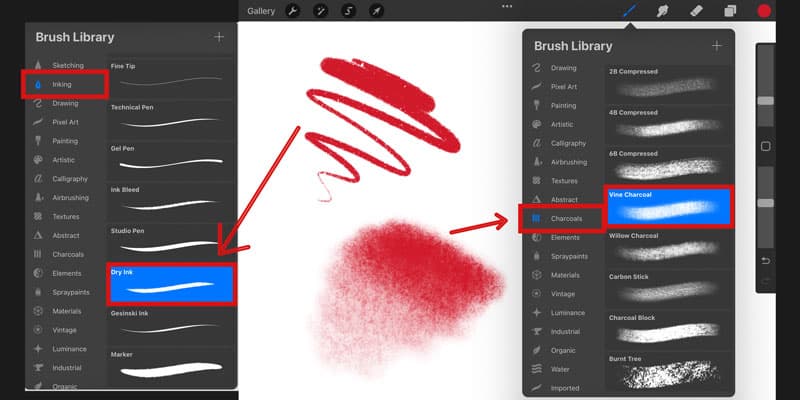
It’s a very smooth brush and has a good variety of size. This way, you can paint big shapes or smaller details using just one brush.
Again, if nothing feels 100% the sketching brush for you, you can find something online or make your own.
Making your brushes is easy on Procreate, and there’s a lot to play with. I have a Sketching Brush Tutorial that will be helpful for you if you want to make your own brush.
I do recommend playing with the Brush Studio in Procreate and understanding what each setting does.
This can be a fun tool to play with that will help you create brushes that are 100% up to your taste and preferences.
So now that you’ve picked your brushes, it’s time to start drawing! Grab your favorite reference photos and draw them with your favorite default brushes. You’ve got this!
Patricia Caldeira is the main writer here at Don Corgi. She's an art teacher with over 20.000 happy students across many platforms and courses!
Enjoy your stay and as always:
Keep on drawing!

")
")
