Drawing eyebrows can be done quite quickly and easily.
Whether you want to draw realistic eyebrows or cartoony, you can do so in very small and simple steps.
However, it’s also possible to draw them creatively to make them and your drawings more unique!
In this step-by-step tutorial, we’ll go over how to draw realistic eyebrows and different ways to draw them with fun and unique shapes and styles.
Table Of Contents
Step 1 – Draw a Curved Line
Start by drawing a curved line on your canvas.
This curve can be as accentuated as you want, depending on how arched the eyebrows are.
We’ll keep them with a slight and soft curve in this example:
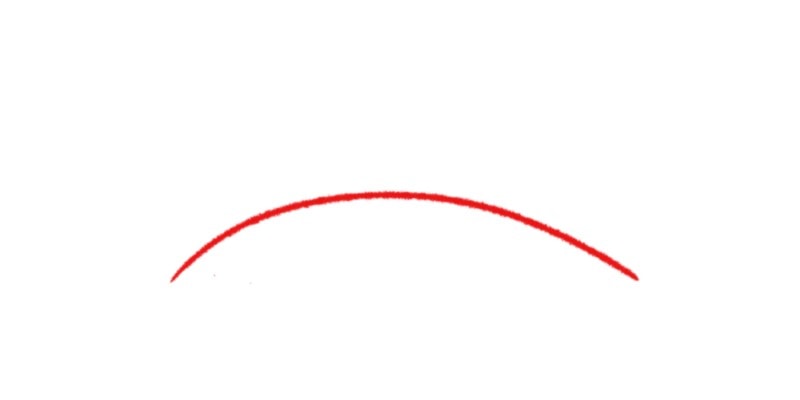
With only one line, we can already have the beginning of the eyebrow shape!
Step 2 – Add a Small Vertical Line
Choose one side of the eyebrow and draw a small, vertical line going up.
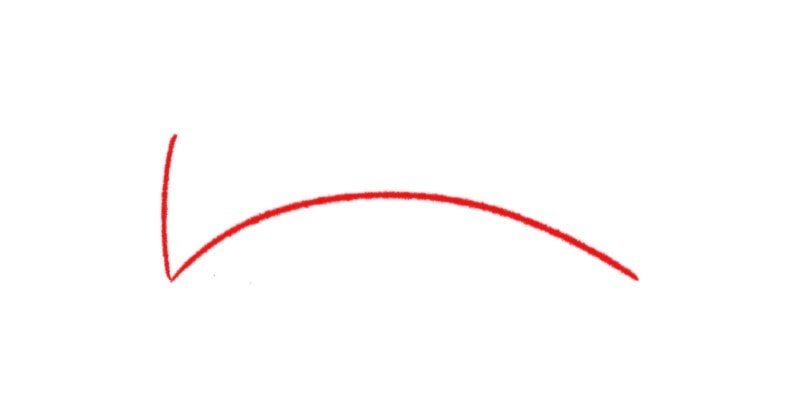
This is going to be the inner side of the eyebrow.
Depending on which side you choose, you’ll be drawing from now on the left or right eyebrow!
Step 3 – Connect Everything With Another Curved Line
Starting on the vertical line we just drew, draw another curved line until it connects with the first line we drew at the beginning.
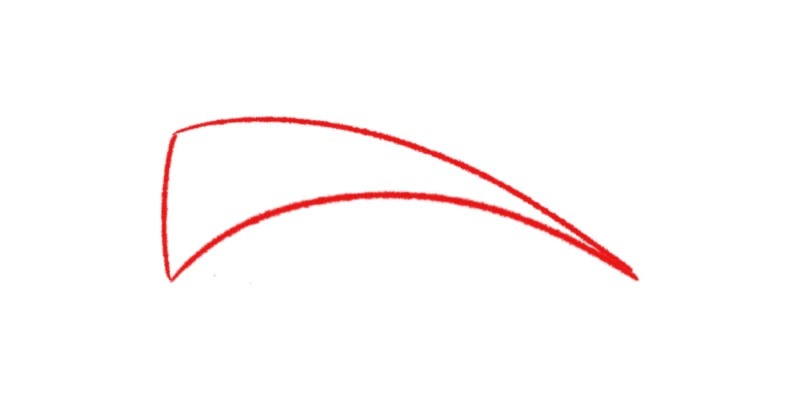
With that done, the shape of your eyebrow is finished!
If you like to keep a simple and even cartoony style, you can leave it this.
But, to create a realistic eyebrow, continue to the next step.
Step 4 – Fill the Shape With Quick Strokes
Draw small and quick strokes along the shape we just drew.
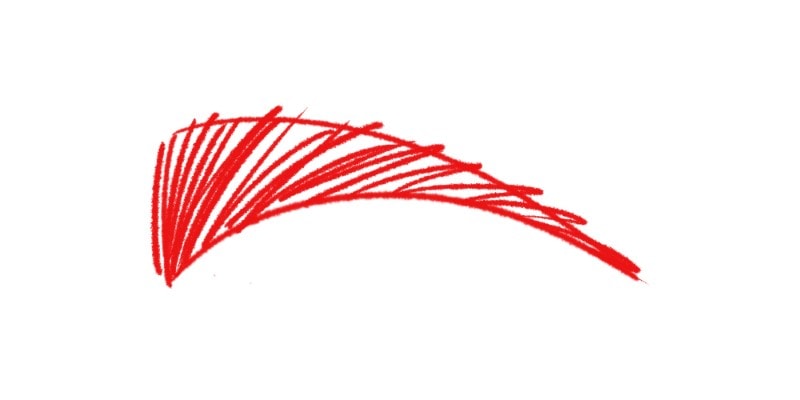
The first strokes start slightly vertical, but you can change their curve as you move through the shape.
You can draw as many strokes and as long as you want, depending on the kind of eyebrow you’re going for.
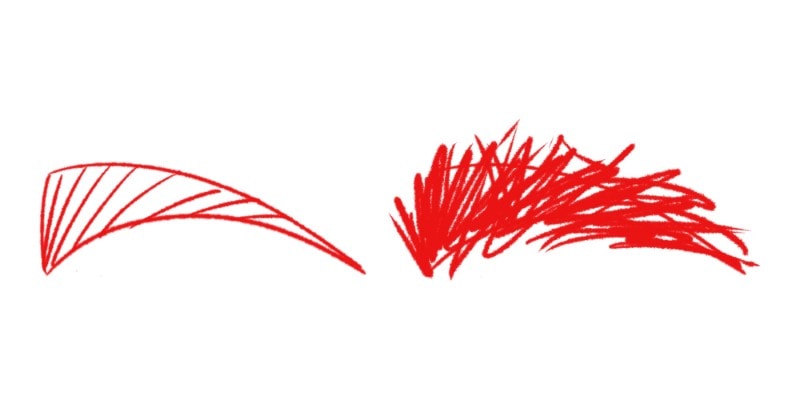
Slim eyebrows look more delineated, with very organized and short hair.
While a bushy eyebrow can be quite messy, with hairs going in different directions and sizes!
Step 5 – Clean Your Sketch
Now that the sketch is finished, you can review everything again with new and clean lines.
This time, you don’t need the initial shape but only the quick lines for the hair direction.
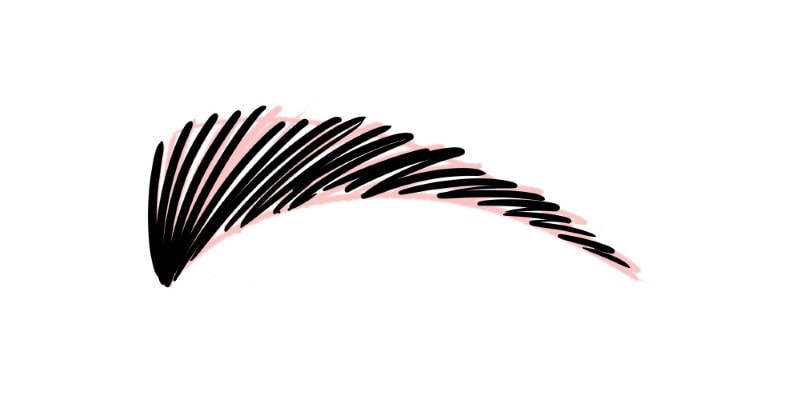
If you’re drawing digitally, just the sketch layer’s opacity and create a new layer on top.
Then, choose a brush and color you like and draw the clean line art.
When drawing traditionally, slightly erase the initial sketch and then draw the final lines using a pen or pencil!
Simplifying And Playing With Eyebrow Drawing Styles
Now that you’ve learned how to draw eyebrows, it’s time to play with their shapes and looks so they can better fit your characters and style!
For example, instead of drawing small lines for each hair of the eyebrow, you can leave the shape and fill it with a solid color.
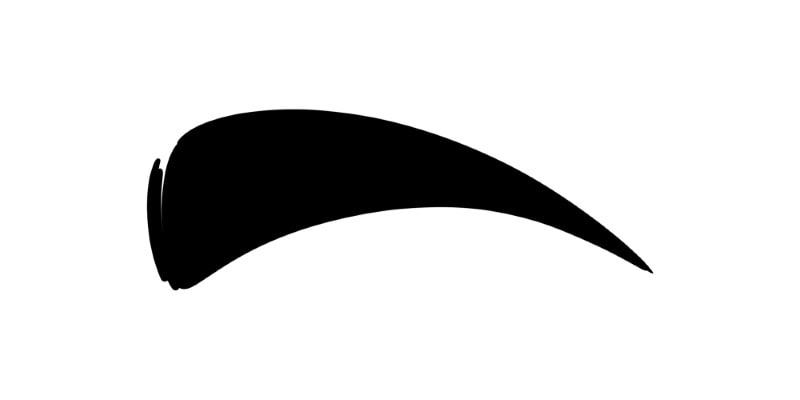
You can also play with the proportion. Draw them bigger, thinner, thicker, or even play with the eyebrow’s curve.
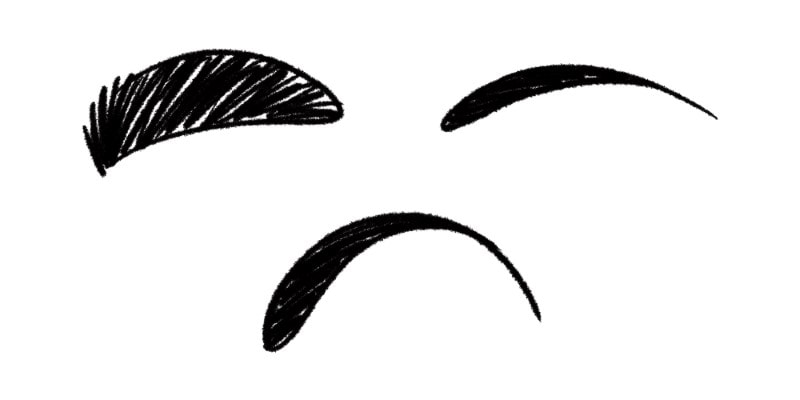
Experiment and draw any shape you want. Try drawing circular or oval eyebrows instead, for example.
Mix and match different shapes and proportions, and see what you can come up with!
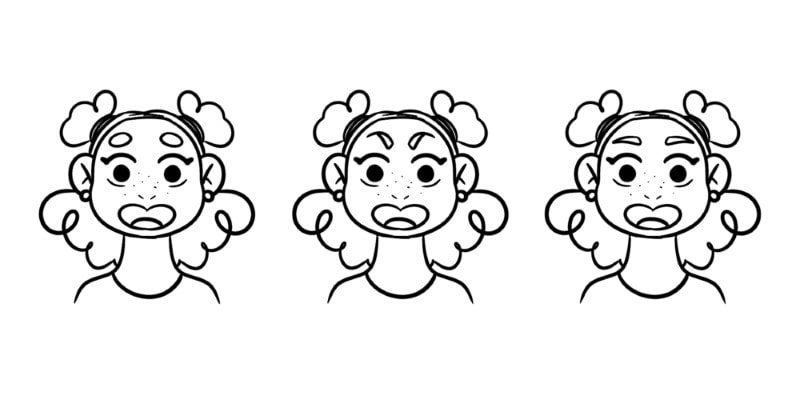
Everyone is different, and so are their eyebrows. By playing with the shape of the eyebrows and how you make them look, you can create different and unique characters according to your preferences and style!
Related Questions
Let’s now go over some quick questions about drawing eyebrows on your artwork!
How can I draw realistic eyebrows for my sketch easily?
Start drawing by creating a guideline for the eyebrow shape, just as we did before.
To draw the entire eyebrows more realistically, simply focus on the details of the eyebrows. Study and practice a lot with reference.
My personal recommendation is to get some portrait reference photos like these and do a lot of sketches and studies! (you don’t need to draw the whole portrait, simply draw the eyebrows)
How do I position or place the eyebrows accurately on a face?
When drawing the eyes and eyebrows, placement is crucial.
Eyebrows should be drawn starting on the same vertical line as the inside corner of the eye, with the end of the brow arching out towards the left side of the face (or right side, depending on the perspective).
For a more in-depth and step by step tutorial, check out my guide on How To Draw The Face Step-By-Step here!
It includes every aspect of the face to draw, including eyes, eyebrows, mouth and much more.
How to create the effect of eyebrow hairs using lines?
Hairs are usually depicted as fine lines in an eyebrow sketch.
To draw the hairs of the eyebrows well, start by using a lighter shade to draw line directions and then go over these with a darker color for texture and depth.
This technique allows you to create realistic-looking eyebrows (or you can just adapt them and simplify them for a more cartoony look!)
How can I make the eyebrows look more natural?
To make the eyebrows look natural, add variety to the brow hairs.
All eyebrows have hairs that go in different directions, are of various lengths, and are not all the same color. Adding hairs in various directions, shades, and lengths can make your eyebrow illustration more realistic.
So be sure to try a few different ways to draw them, and have fun with the process!
And if you’re ready to dive into some more anatomy drawing, check out my complete Figure Drawing Guide Here!
Patricia Caldeira is the main writer here at Don Corgi. She's an art teacher with over 20.000 happy students across many platforms and courses!
Enjoy your stay and as always:
Keep on drawing!
