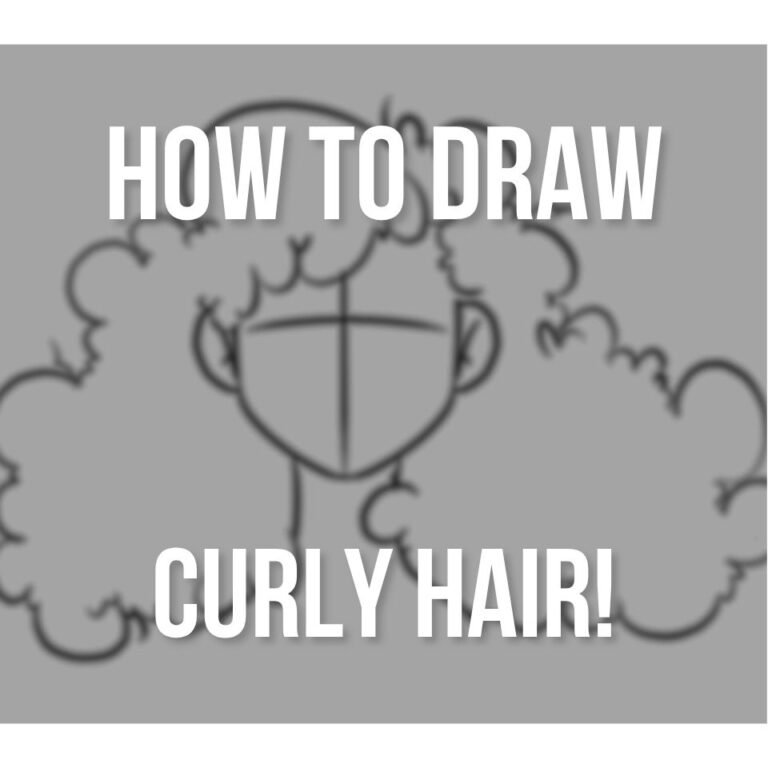
You’ve probably stared at curly hair and wondered how artists make those bouncy spirals look so effortless on paper.
I’ll be honest, I used to avoid drawing curls because they seemed impossibly complex!
But here’s what I discovered: curly hair isn’t about perfection, it’s about understanding the chaos.
Once you grasp a few key techniques for capturing volume and movement, you’ll transform those intimidating ringlets into your secret weapon.
If you’re new to drawing hair in general, check out our comprehensive guide on how to draw hair first.
👉 Check out my Complete Figure Drawing Course (includes How to Draw Hair more in depth!)
Key Takeaways
- Start with an irregular hairline and map overall volume using loose outlines that extend beyond typical straight hair boundaries.
- Define individual curls using circles, half-circles, and S-curves of varying sizes to create authentic, non-uniform curl patterns.
- Add loose strands and smaller curls around the hairline to create natural movement and seamless facial framing.
- Observe real curly hair types (2A-4C) to understand how strands naturally group into spiral clusters with unique personalities.
Understanding Curly Hair
Understanding curly hair starts with recognizing that each curl has its own personality and behavior.
When I first began drawing curls, I made the mistake of treating them like straight hair that’s been twisted.
Unlike straight hair that falls predictably, or wavy hair with gentle curves, curly hair has unique structural properties
You’ll need to study different curl types, from loose waves (2A) to tight coils (4C).
Each type responds differently to gravity and environmental factors.
Hair textures also vary dramatically – fine curls behave differently than coarse ones. Fine curls tend to lose their shape faster, while coarse curls hold their structure longer.
I’ve found that observing real curly hair teaches you how individual strands group together, creating those characteristic spiral clusters that give curly hair its distinctive flowing appearance.
Initial Sketch
Start your curly hair drawing by sketching the hairline first – I like to make it slightly irregular since curls naturally create soft, uneven edges around the face.
Next, map out the overall volume by drawing a loose outline that extends well beyond where straight hair would typically fall.
Hairline
The hairline sets the foundation for your entire curly hair drawing, so you’ll want to map it out carefully before diving into those wild curls.
Start by sketching a light guideline around the forehead, temples, and nape area.

Don’t make it perfectly symmetrical – real hairlines have natural variations that add character.
Consider different hair types when placing your line; fine hair typically sits closer to the scalp, while coarser textures create more volume right at the roots.
I’ve found that marking key anchor points first – like where sideburns begin or where the hairline curves around ears – gives you better control.
Overall Volume
Once you’ve nailed down that hairline, you’ll want to lightly sketch the general outer boundary of where all those curls will live.
This initial sketch determines your hair volume and sets up everything that follows.
I think of this step as creating a roadmap for your curl shape placement.

For short curly hair, keep that volume more compact and rounded – imagine a helmet-like silhouette that hugs closer to the head.
Long curly hair gets way more exciting here. You’ll create larger, flowing volumes that look like connected cloud shapes cascading down from the scalp.
Don’t get caught up in perfection during this stage. You’re just establishing the playground where your curls will bounce around and show their personality.
Defining The Curls
Now that you’ve got your basic shape mapped out, it’s time to bring those curls to life with some real personality.
Start by identifying your curl patterns – think circles, half-circles, and those beautiful S-curves that make hair dance.
I love mixing dynamic shapes of different sizes because it creates that authentic, lived-in look we’re after.
Don’t get trapped trying to make every curl identical. Real curly hair has big spirals next to tiny coils, and that’s what makes it gorgeous.

Add some loose strands that break free from the main volume – these rebels give your drawing movement and prevent it looking too stiff.
At the hairline, draw smaller curls that naturally frame the face. This integration makes everything flow together seamlessly.
To complement your curly hairstyles, practice drawing the neck and shoulders for proper placement.
Cleaning Up The Linework
With your curl patterns looking lively and natural, you’re ready to refine those sketchy lines into something crisp and polished.
Now comes the satisfying part! Cleaning up your work with smart line refinement techniques.
Go over your defined curl sketches with cleaner, more confident strokes. For more tips on achieving better line quality, see our guide on how to improve line quality.
Otherwise if I’m working digitally, I make a layer on top and use a strong dark pen brush.

Don’t make everything perfect though; curly hair thrives on organic irregularity.
Here’s where texture enhancement tips really shine: add smaller internal “half-circle” details within your larger curls.
These mini-curves suggest individual strands and create depth. Think of them as curls within curls.
Finally, erase those underlying sketch guidelines. (or hide them if you’re doing it digitally)
You’ll be amazed how much cleaner everything looks once those construction lines disappear.
Don’t forget the details! Learn to draw eyebrows to add more depth to your art.
Conclusion
Drawing curly hair becomes second nature once you’ve practiced these steps.
You’ll find yourself naturally sketching those flowing S-curves and adding loose strands for movement.
Don’t worry if your first attempts aren’t perfect – curly hair’s organic nature actually works in your favor.
Keep experimenting with different curl patterns and remember that real curly hair has beautiful imperfections. For more drawing inspiration, try our random art prompt generator.
Have fun and keep on drawing!
👉 Check out my Complete Figure Drawing Course (includes How to Draw Hair more in depth!)

Patricia Caldeira is the main writer here at Don Corgi. She's an art teacher with over 20.000 happy students across many platforms and courses!
Enjoy your stay and as always:
Keep on drawing!
Patricia’s courses have enrolled 22 000+ students around the world, in platforms such as Udemy, Skillshare, Gumroad and more.