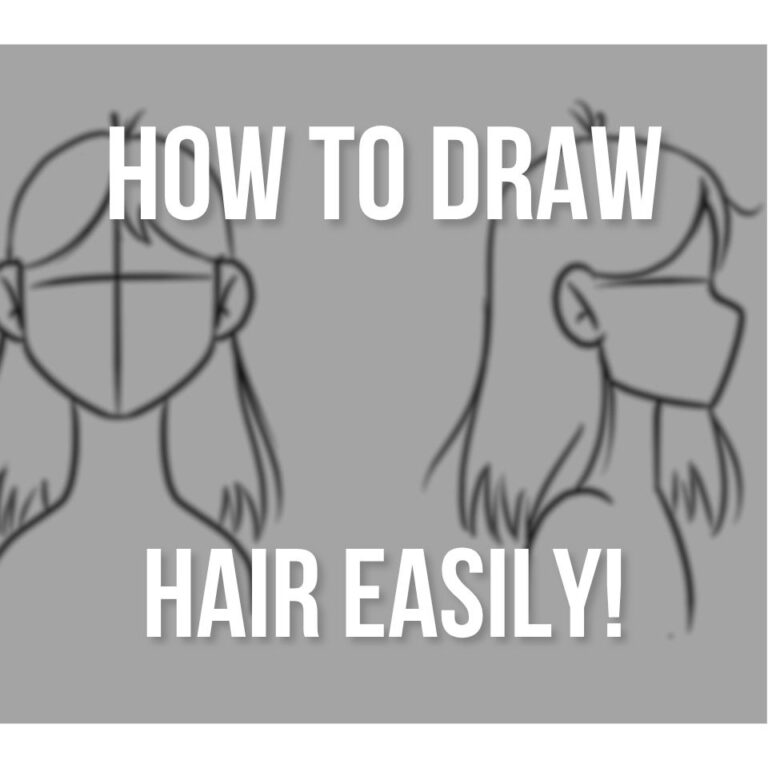
You’ve probably stared at a blank page, wondering how artists make hair look so effortless and flowing.
I’ll be honest: drawing hair intimidated me for years until I learned a simple truth: it’s not about drawing every single strand.
Instead, you’ll focus on shapes, volume, and movement.
Once you grasp these core concepts and follow my step-by-step approach, you’ll transform those choppy, lifeless scribbles into hair that actually looks like it belongs on a head.
👉 Check out my Complete Figure Drawing Course (includes How to Draw Hair more in depth!)
Key Takeaways
- Start by mapping out the hairline above the eyebrows as your foundation before adding any hair details.
- Sketch the overall hair shape and volume first using simple geometric forms before drawing individual strands.
- Collect reference photos from magazines, personal photos, and online resources to understand different hair textures and styles.
- Use varied line weights with thicker outer contours and thinner interior details to create depth and dimension.
- Focus on confident, flowing strokes that follow the hair’s natural direction and movement around facial features.
- Once you master these basics, explore specific techniques for straight hair, wavy hair, and curly hair.
Starting With A Base Drawing
Before you plunge into drawing any fancy hairstyles or intricate details, you need to establish a solid foundation with your base drawing.
Think of this as your roadmap, you’re mapping out where the hair will sit on the head and how it’ll flow.
Start with the basic head shape, then sketch the hairline. This gives you boundaries to work within.

I’ve found that mastering this basic sketching early saves tons of frustration later.
Getting these fundamentals right makes exploring different character hair styles much more enjoyable and successful. For comprehensive figure drawing, check out our figure drawing course.
Gathering Hair Reference For Inspiration
Before you start sketching, you’ll need solid reference material to guide your hand and help with inspiration.
I’ve found that collecting hair references from magazines, snapping your own photos, and browsing online resources gives you the best foundation for understanding how different hairstyles actually work.
These references will become your visual library, helping you capture everything from the way light hits straight hair to how curls naturally fall and bunch together.
For more reference resources, see our guide on art references and resources.
Magazines
Magazines offer a bunch of hair inspiration that’s sitting right at your fingertips.
Fashion and lifestyle publications showcase diverse hair styles that’ll inspire you right away.

I’ve spent countless hours flipping through pages, discovering fresh approaches to drawing different textures and cuts.
Here’s how to maximize your magazine hunting:
- Focus on fashion magazines for cutting-edge styles and editorial shoots
- Cut out or photograph interesting hairstyles you want to practice
- Look for close-up shots that show texture and movement clearly
- Study how lighting affects hair in professional photography
Fashion trends change constantly, giving you endless reference material to explore.
So this is a great option to find some amazing hairstyles to draw.
Taking Your Own Photos
While magazines give you tons of inspiration, sometimes you need that perfect reference that doesn’t exist yet.
That’s where taking your own photos becomes invaluable. You can capture exactly what you’re envisioning for your drawing.
Start with selfies taken from different angles. Overhead shots show crown patterns beautifully, while side profiles reveal hair’s natural fall.

Don’t limit yourself to one style either. Ask family and friends to model for you, this way you have many different hair styles to reference!
You’ll control lighting, pose, and angle perfectly.
Plus, you can reference the same photo multiple times without worrying about copyright issues.
Online Resources
Since you’re probably online reading this anyway, let’s talk about the goldmine of hair references sitting right at your fingertips.

The internet’s packed with incredible resources that’ll help you out.
Here’s what I recommend:
- Pinterest boards – Search “hair reference drawing” for curated collections
- Instagram hashtags – Try #hairreference or #hairstyles for fresh content
- Online tutorials – YouTube artists break down techniques step-by-step
- Digital tools – Apps like PureRef organize references on your screen
I’ve spent hours building digital mood boards, and they’re game-changers for inspiration and practice.
Basic Hair Drawing Tutorial
Now let’s get your pencil moving with the actual drawing process!
Start by mapping out the hairline – this invisible boundary where hair meets forehead sets the foundation for everything that follows.
Once you’ve established that guideline, you’ll add volume by sketching the overall shape before worrying about individual strands or details.
For advanced shading techniques, see our guide on shading drawings.
Defining The Hairline
Before you can draw convincing hair, you need to establish where it actually starts on the head. The hairline’s your foundation, mess this up, and your whole drawing looks off. (no pressure!)

Here’s how I approach hairline shapes and forehead guidelines:
- Locate the starting point – Position it above the eyebrows, typically one-third down from the top of the head.
- Sketch the general shape – Most hairlines converge toward the middle, creating a subtle “M” or curved shape.
- Consider your character – Age and genetics affect hairline placement and recession.
- Keep it natural – Avoid perfectly straight lines; real hairlines have gentle irregularities.
Adding Volume
Here’s where most beginners stumble: they treat hair like it’s painted directly onto the skull. Hair has thickness and lifts away from the head, creating natural volume.
When sketching, extend your lines beyond the original head outline. Think of hair as a separate mass sitting on top of the skull, not glued to it.
Different hair textures require specific volume techniques; straight hair hugs closer, while curly hair puffs outward considerably.

I always add at least half an inch of space between the scalp and hair outline. This simple trick instantly makes your drawings look more realistic.
How To Draw Short Hair Step-By-Step
Now, let’s tackle short hair from two essential angles that will give you a solid foundation for any short hairstyle.
Follow along with the front or side view! It’s easier to grasp the basic shape and proportions if you start with the front view, then move to the side view where you can really understand how short hair sits against the head.
Hairline And Volume
When you’re drawing short hair, you’ll start by establishing where the hairline sits and how much volume the hair has above the head.
Two critical elements form the foundation of any successful hair drawing: establishing a believable hairline and creating convincing hair volume.

Master these hairline shapes and volume techniques:
- Start with the natural recession points at your temples.
- Create subtle irregularities; perfectly straight lines look artificial.
- Build volume by lifting hair slightly away from the skull.
- Add depth using overlapping strands.
Sketching The Basic Shape
Short hair presents the perfect starting point for beginners because it simplifies the complex shapes you’ll encounter with longer styles.
Focus on sketching the overall silhouette using broad strokes.

Pay attention to how different bangs styles change the face framing effect, and don’t forget those little spiky strands that add movement.
Cleaning Up The Linework
Once you have a good solid base, it’s time to clean it up!

Having this clean line art will make your art look more professional.
Here’s my approach for creating crisp, professional linework:
- Clean up sketch lines with confident strokes using line thickness variation
- Maintain stroke consistency throughout your drawing for visual cohesion
- Add strategic stray hairs to break perfection and create natural movement
- Keep shapes simple (this is the most important step!!) while preserving the hair’s fundamental structure
How To Draw Long Hair Step-By-Step
Now let’s go over how to draw long hair.
I’ll walk you through both front view and side view techniques, showing you exactly how the hair flows and falls differently from each perspective.
These two viewpoints cover most of what you’ll need to draw convincing long hair on any character.
Hairline And Volume
Now let’s walk through drawing long hair using a step-by-step approach that’ll make the whole process much clearer.
When you’re drawing long hair, start once again with the hairline and the volume.

Map the hairline before adding any strands, then create volume by drawing the basic outer hair shape.
Don’t forget to vary the thickness along the hairline, and add depth by overlapping different sections of the hair.
Sketching The Flow Of Long Hair
Once you’ve established your hairline and volume, you’ll want to map out how the hair naturally falls and moves around the face and body.

Focus on hair parting techniques: where strands separate and flow downward.
Pay attention to ear interaction, showing whether hair tucks behind or cascades over them.
And don’t forget to add gentle curves for movement.
Cleaning Up The Linework
Then it’s time to clean up the linework once again.

Don’t forget to keep the lines loose and flowing, and add some individual strands for more realism and dynamic movement!
And don’t forget those extra strands of hair!
Now that you understand the basics of drawing hair, dive deeper into specific techniques:
Conclusion
You’ve got the basics of how to draw hair down now!
Remember, hair drawing gets easier with practice, so don’t get discouraged if your first attempts aren’t perfect.
Start with simple shapes, focus on the overall flow, and gradually add more detail as you build confidence.
Keep studying real hair and experimenting with different styles.
Most importantly, have fun with it! – Patricia
Want to learn how to draw the human body?
👉 Check out my Complete Figure Drawing Course (includes How to Draw Hair more in depth!)

Patricia Caldeira is the main writer here at Don Corgi. She's an art teacher with over 20.000 happy students across many platforms and courses!
Enjoy your stay and as always:
Keep on drawing!
Patricia’s courses have enrolled 22 000+ students around the world, in platforms such as Udemy, Skillshare, Gumroad and more.