Drawing feet is generally one of the last subjects artists learn to draw when it comes to figure drawing.
They’re mostly hidden and farther away from other more interesting areas of the body to draw, such as the face!
For that reason, they seem quite complicated to draw!
Following our step-by-step method of drawing, which involves breaking the subject into simple shapes, you’ll be learning how to draw feet in no time.
Table Of Contents
Drawing The Basic Shapes Of The Feet
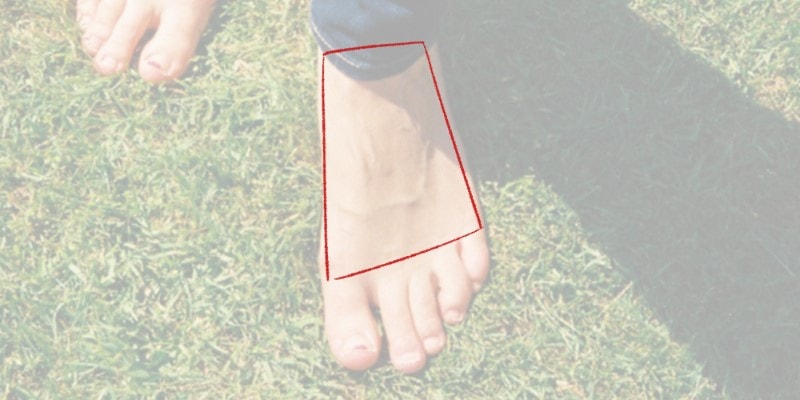
As with many other subjects in figure drawing, the feet can be more easily drawn if you break them down into simple and basic shapes.
For example, divide the foot into 3 or 4 different parts:
- The heel;
- Body/bridge of the foot;
- Big toe;
- Toes.
The toes can be drawn using only one big shape or separating the big toe from the rest.
It’s a matter of preference, but I recommend drawing them separately so it’s easier to draw everything later.
Splitting up the drawing of the foot into three parts is usually a great way to go.
Let’s go through each part of the foot and which kind of shapes you can use to draw them!
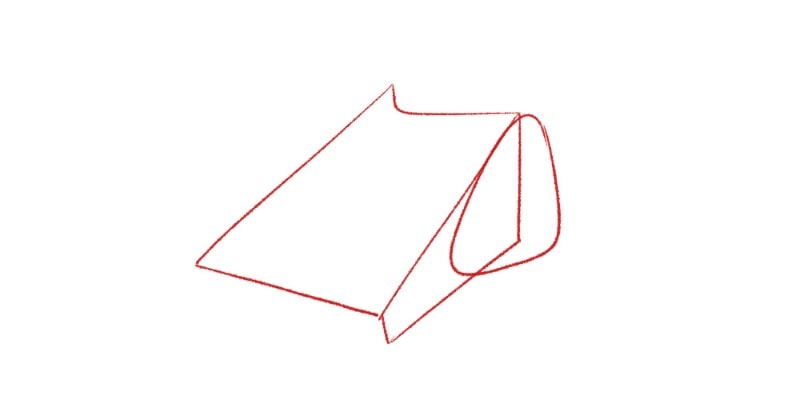
Drawing The Heel
To draw the heel, this important part of the back of the foot, here’s what you need to do.
Start by drawing a rounded triangle or something that resembles a lemon wedge for the heel and ankle areas.

This shape is very helpful since it’s easy to adapt, depending on the foot’s position!
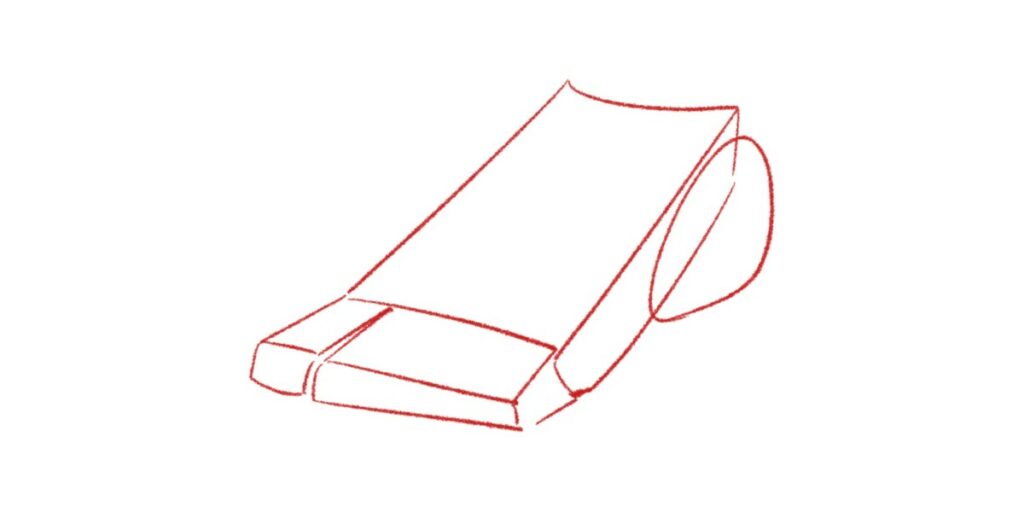
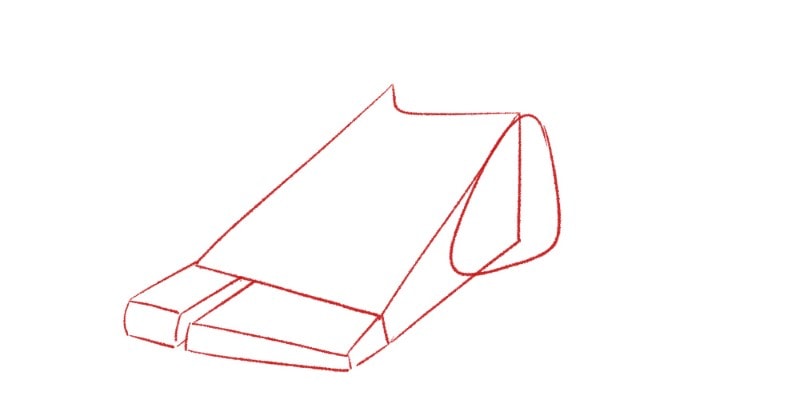
Drawing The Middle Slanted Box
The body or bridge of the foot is its biggest area so we will draw a big box for it.
Depending on the foot’s position, your drawing might need more or less dimensionality.
For example, a simple rectangle or trapezium should be enough if you’re drawing a foot from the top view.
However, from any other view, this shape needs more depth and dimensionality. So, adapt that rectangle into a 3D shape!
And don’t forget the arch of the foot.
This way, there’s no way you’ll forget each plane of the foot as you draw it. It also makes it easier to add shadows to it later on.
Drawing The Big Toe
Only the toes are missing, and even though their shapes are similar, separating them into two parts is good.
For the big toe, draw another box similar to the one before but smaller.
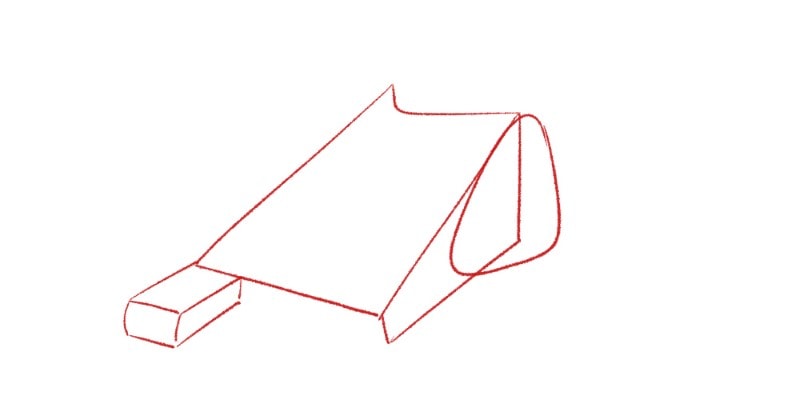
You can also use a more cylindrical or rounded shape since the toes are quite round!
In truth, any shape can work as long as it’s practical and makes sense to you.
Drawing The Toes
Finally, our last shape for all the rest of the toes!
Again, we will draw another box, but this time more elongated.
This shape starts right next to the big toe and is as wide as the bridge of the foot!
Then, divide the shape into four parts for each toe.
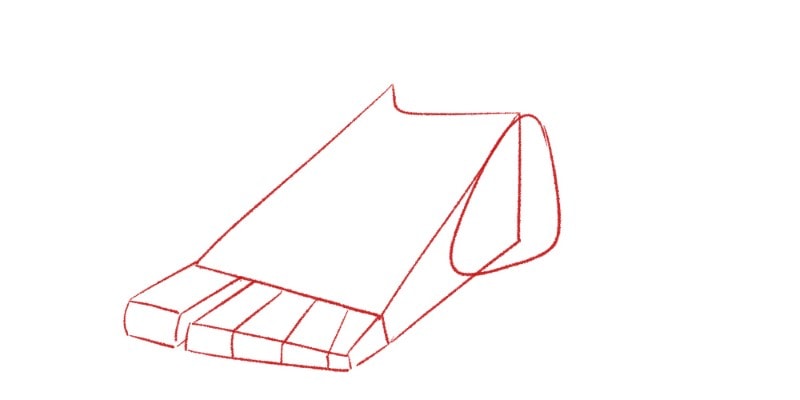
As you can see, you can easily draw feet if you simplify them and break them down into simple forms!
Cleaning The Sketch
Now that our sketch is finished, it’s time to draw some proper line art.
We drew the whole structure of the foot, both the inside of the foot and the outside, so let’s simplify it and omit the lines that aren’t needed anymore.
For that, go over the whole drawing and outline the main shape of the foot.
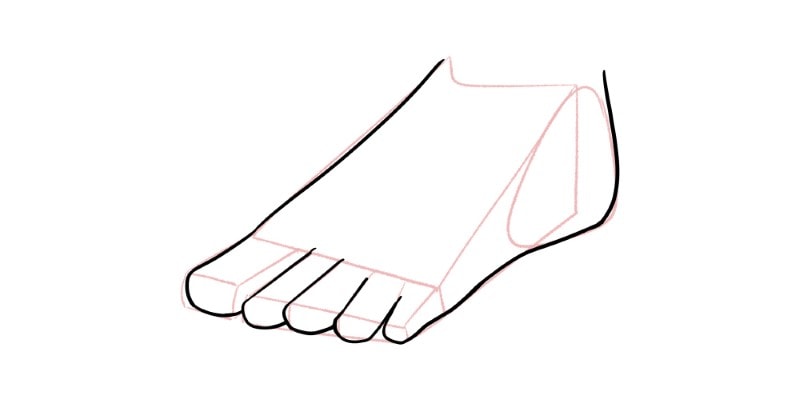
Don’t forget to draw each toe separately while keeping their dimensionality!
Keep things simple for now, with little to no details. Practice the main shape as much as possible until you feel confident with your drawings.
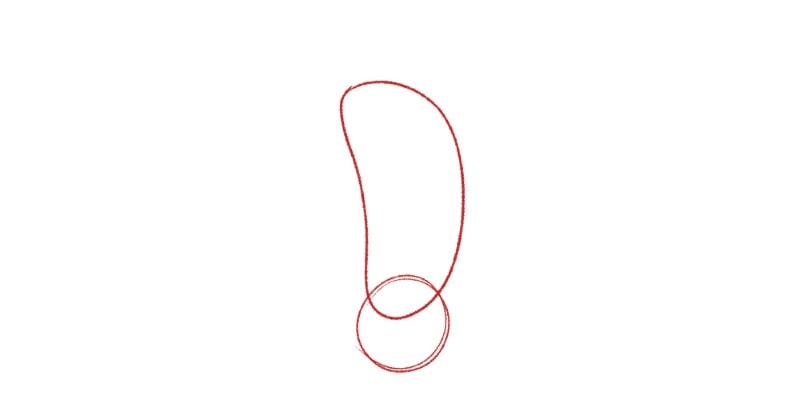
Drawing The Sole Of The Feet
Seeing and drawing the feet from the bottom can be easier since everything is flat.
The main thing to pay attention to is the foot’s curvature since it’s quite noticeable in this view.
Start by drawing a circle for the bottom of the heel.
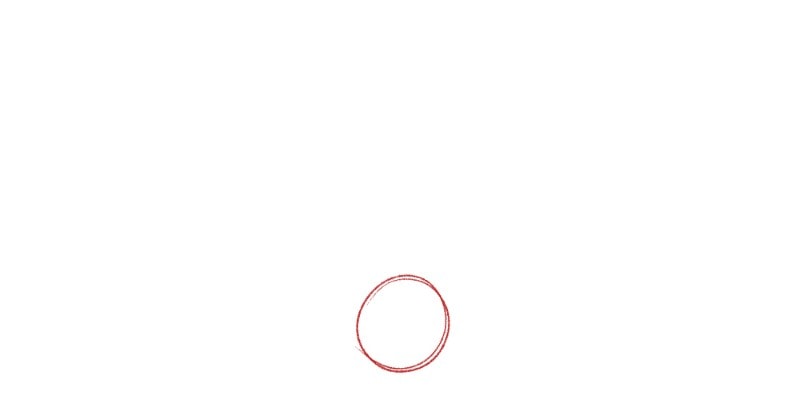
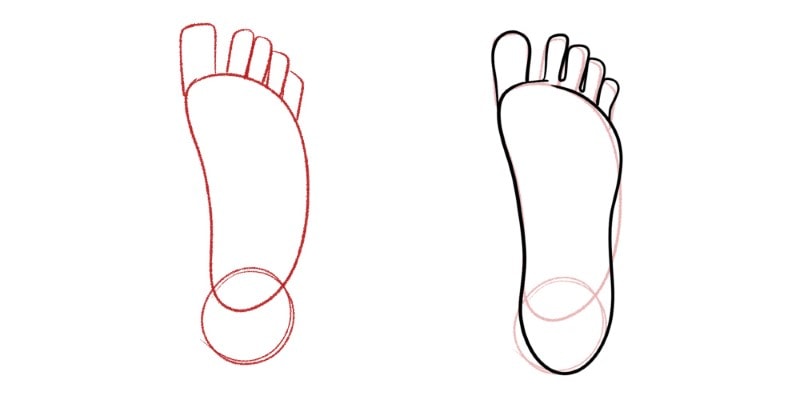
Then, a bean shape for the sole of the foot. The arch should be drawn on the inner side of the foot!
Finally, draw a big, rounded rectangle for the big toe and four similar but smaller shapes for the remaining toes.

Once again, clean your drawing by making new line art, outlining the main shape of the foot and toes!
Remember to practice and adapt the shapes used as much as needed until you find a comfortable and practical structure to draw.
Adding Details To Our Feet Drawing
You learned how to draw the form of the foot, but depending on the angle you’re drawing it, it can look a bit lacking.
Now is a good time to add details such as toenails, shadows, some hair, or even wrinkles to the feet.
Drawing The Toenails
Toenails are very easy to draw.
Generally, they are squared or rectangular.
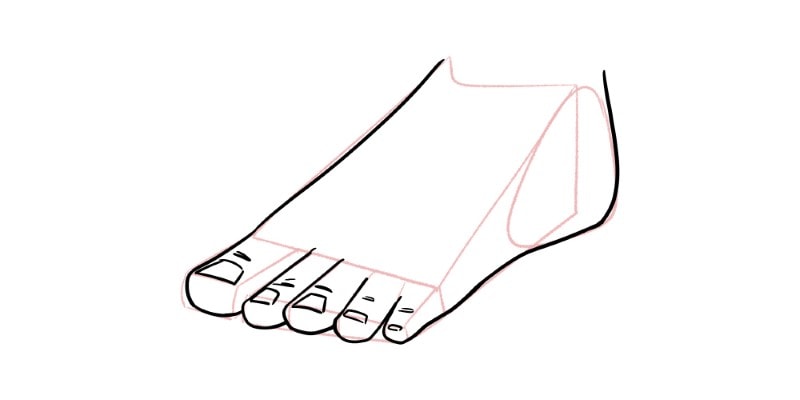
Depending on your style or the type of character you’re drawing, the top of the toenails can be straight or rounded.
Furthermore, you can draw them long or very short, close to the top of the toe!
You can draw these in many ways, including adding color to them as if they’re painted.
Be creative with the details you’re adding, as long as it makes sense for the character or person you’re drawing!
Adding Shadows To The Feet
After adding all the details to the feet, go ahead and color it as well.
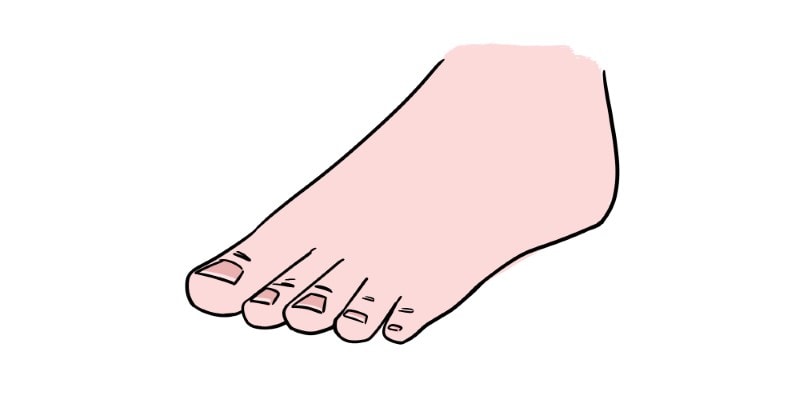
You can keep it simple or add shadows to it to gain more depth!
Let’s quickly add some shading while keeping everything very simple!
First, choose a side for where the light is coming from. Then, pick a darker tone than the one used as the base color.
Finally, draw the shadows on the opposite side of the light source!
With that done, our drawing tutorial comes to an end, and you now know how to draw feet in a very easy and straightforward way.
Want to watch a video version where I go through drawing the feet in 3 Different Views?
Check the video below!
Related Questions
So, what other questions can you have about drawing feet, the human body, and general anatomy?
Let’s go over them so we can make drawing feet much easier!
Why Are Feet Hard To Draw?
The main reason feet are so hard to draw is that they are a body part we don’t see or interact with as frequently as others.
We constantly see and observe the faces, hands, and arms of the people around us. This is done unconsciously most of the time.
Feet, however, are hidden by shoes most of the time. So, it’s harder to observe them without intent.
Are Feet Easier To Draw Than Hands?
Feet are made of simpler and easier shapes than hands.
Not only that, but they are not as flexible as hands. Although feet can appear harder to draw at first, they’re easier to master.
Hands, however, are very flexible and can move in many ways, creating intricate poses in difficult angles.
This fact can make them more difficult to draw but also more interesting and fun!
Take a look at our Hand Drawing Tutorial to learn more.
And dive into our Figure Drawing Basics Guide to explore every part of the human body!
Patricia Caldeira is the main writer here at Don Corgi. She's an art teacher with over 20.000 happy students across many platforms and courses!
Enjoy your stay and as always:
Keep on drawing!


")