Drawing ears is a necessary skill to help you create more realistic, expressive, and engaging expressions and drawings.
In this article, we will guide you step by step through drawing ears, from the basic shape and structure to the fine details and nuances that make each ear so unique.
We’ll go through how to position the ears in the head, a step-by-step guide on how to draw an average ear, and different styles or types of ears you can draw!
So grab your drawing tools, and let’s start drawing some ears!
Table Of Contents
Positioning The Ears In The Head
Positioning the ears in the head is relatively simple. Looking at a person’s portrait, we can easily discern that the ears are on the head’s sides.
However, it can sometimes be confusing to know how tall the ears should be.
If we look at a photo reference, we can easily find a few guidelines to help us with ear placement.
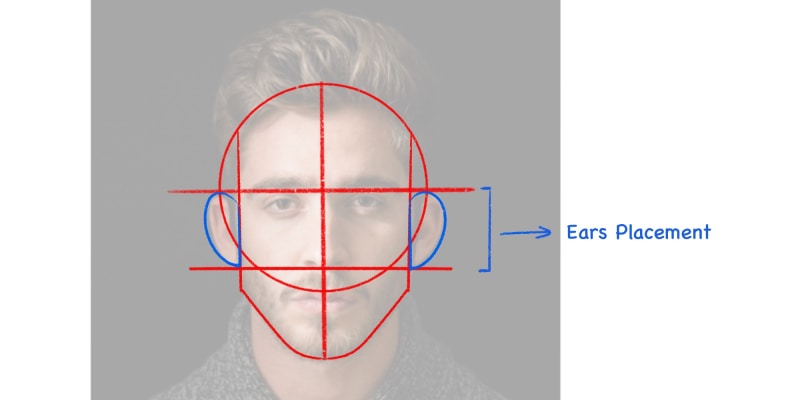
As you can see, the top of the ear goes as far as the eyebrows line and won’t go below the nose line. This is a good way to remember where to draw an ear without any more confusion!
To learn how to draw faces in more detail, look at our Complete Step-by-Step Guide on How To Draw Faces.
How To Draw Ears Step-By-Step
Now that you know where to draw the ears, it’s time to start our ear drawing.
In this tutorial, we will draw an ear from the front. From this view, the ears can be drawn simply, but they are filled with details.
How much detail you add is totally up to you, your preferences, and your style.
This tutorial will teach you the basic forms for drawing an ear. With these, you’ll be able to draw any type of ear you want.
Our Complete Figure Drawing Course covers several types of ears: narrow, point, and round! This is also done in video format, making it easier to follow.
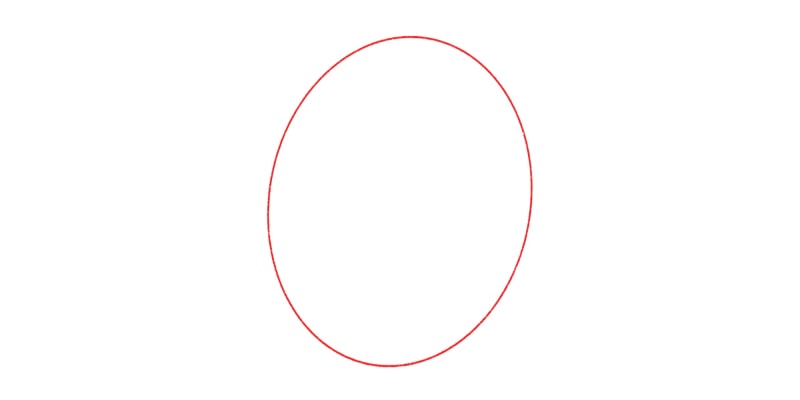
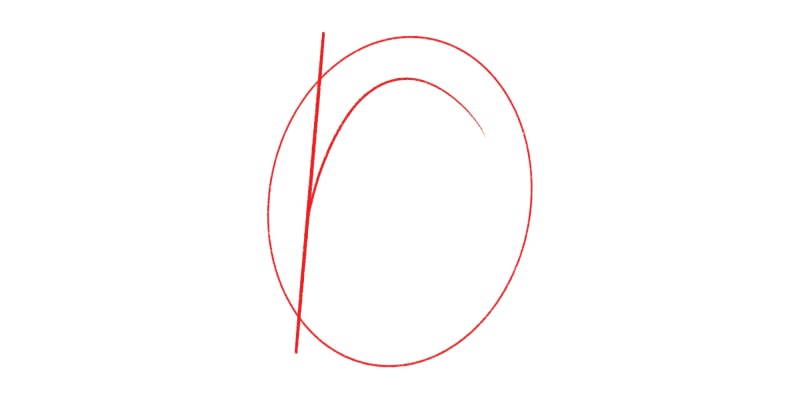
Step 1 – Start With An Oval Shape
We start the ear by drawing an oval. Go ahead and tilt that oval shape slightly to the side as if it was falling over.
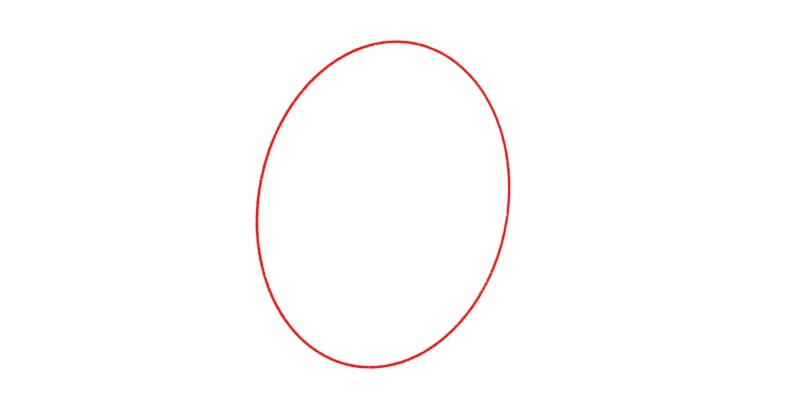
This is our main shape for the ear. We’ll add details and complex shapes inside this shape to make our ear clearer.
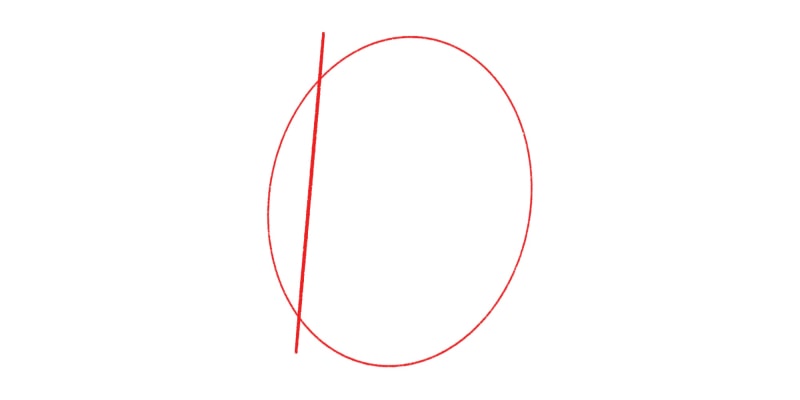
Before the next step, make a straight, slanted line, slightly cutting the oval shape.
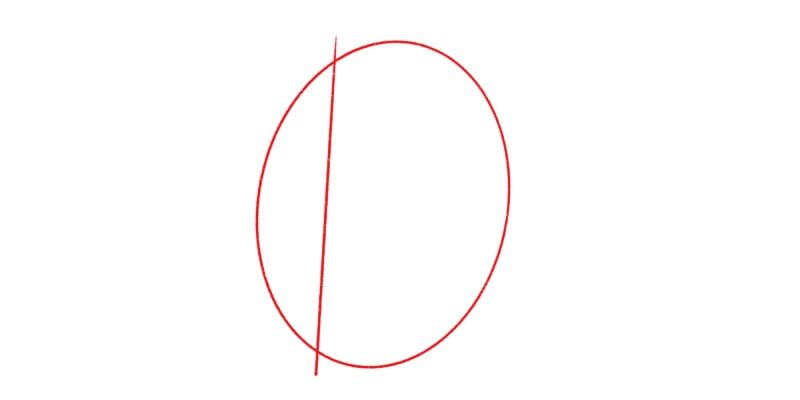
If you notice, the human ear is round on one side but looks somewhat straight where it connects to the face.
Step 2 – Draw A Curved Line For The Rim Of The Ear
Now that we have the main shapes for the ear, it’s time to add a few folds.
For the rim of the ear, draw a curved line, starting from the straight line we drew in the previous step.
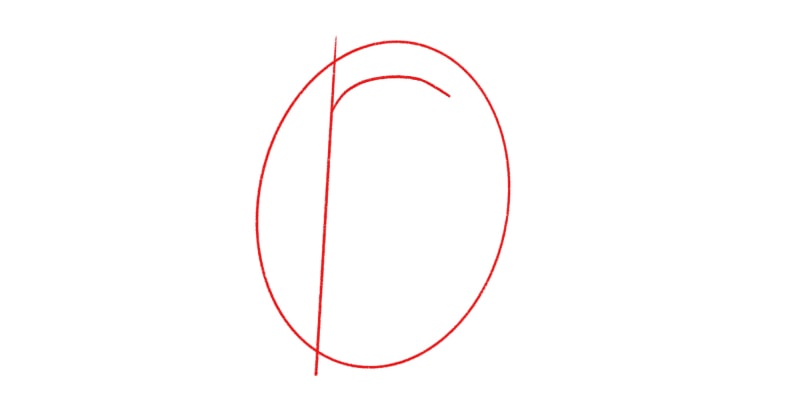
Now, draw another curved line, going down, following the outer shape of the ear.
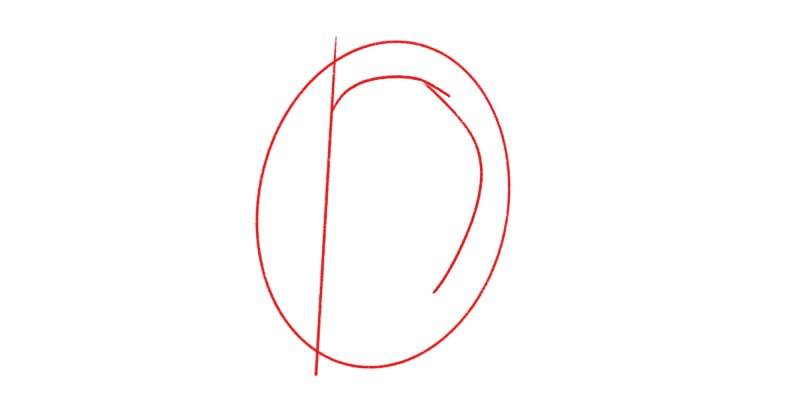
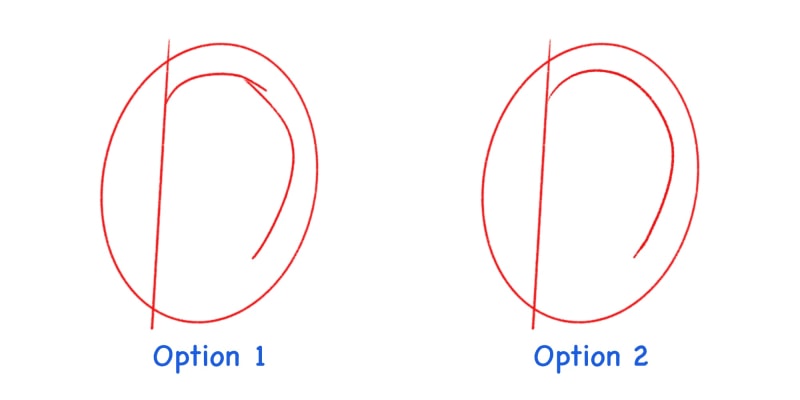
You can make these two curved lines overlap to create extra folds in the ear. You can make one continuous curve if you want to keep things simpler and minimalistic.
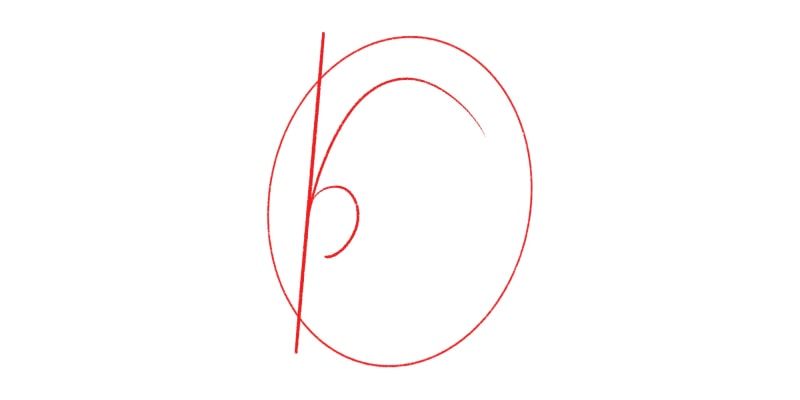
Step 3 – Draw The Shape For The Tragus Of The Ear
It’s time to add another shape, this turn for the tragus.
The tragus of the ear is that small flap that connects to the rest of the face and protects the ear canal from strange objects.
This is a distinct part of the ear, so it’s essential to draw it. Near the inner curved line we drew previously, draw half a circle.
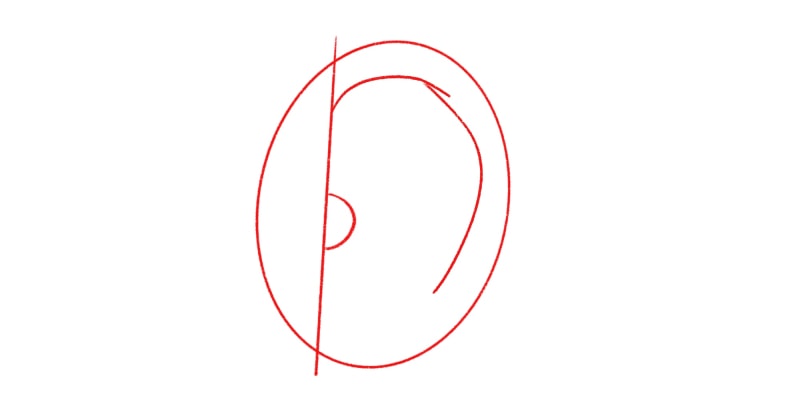
Now at the end of that shape, make a small line pointing to the right.

Alternatively, you can draw an inverted S shape for the whole tragus of the ear, like this:
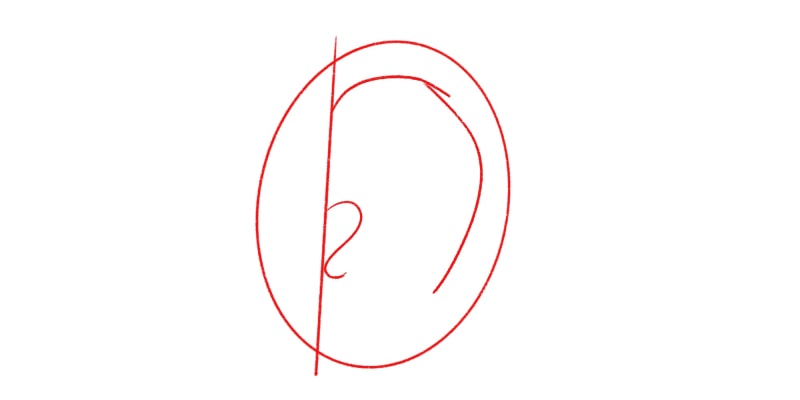
Both methods work, so use the one that makes the most sense to you!
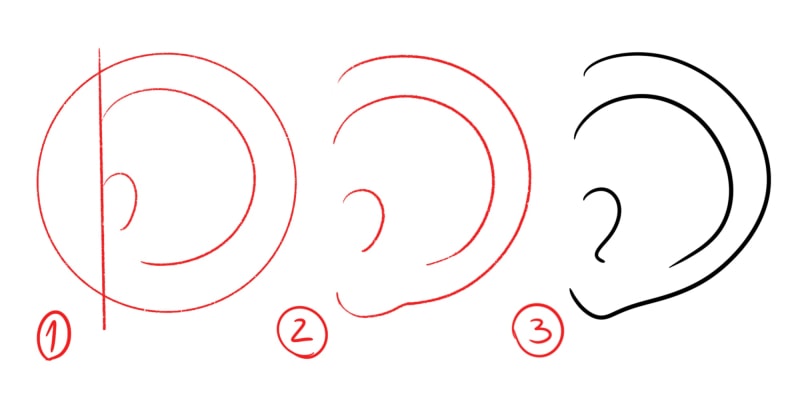
Step 4 – Draw A Circle For The Lobule Of The Ear
Finally, let’s draw a circle so we know where the lobule of the ears is!
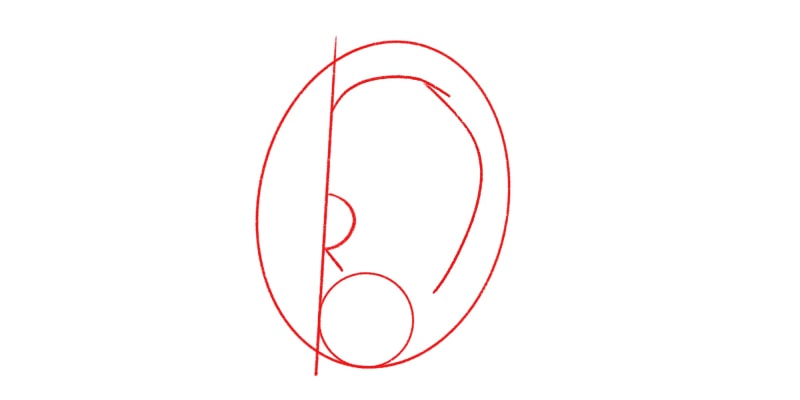
This circle sits at the bottom of the ear shape and can be as big or as small as you want.
People are different and have different ears. Some almost seem not to have a lobule, while others have pretty big and long lobules.
Depending on what kind of character or person you’re drawing, you can draw their lobules differently, so have fun experimenting!
Step 5 – Go Over Your Sketch With Clean Lines
Our ear drawing is almost finished. All we have to do now is go over all the shapes and outline the ear.
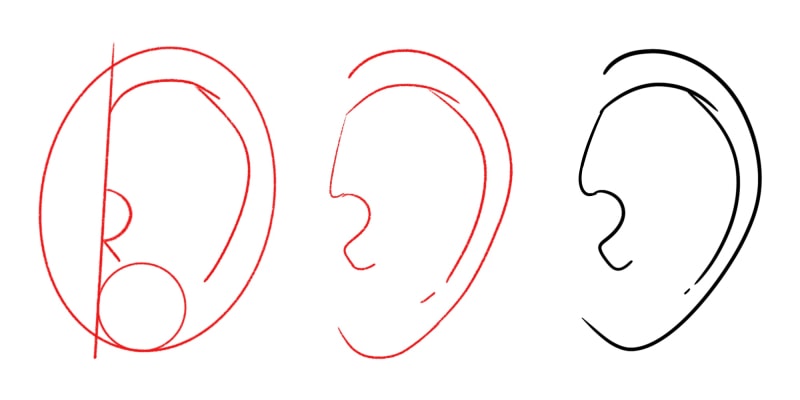
Take your time while drawing your final lines. This is also the opportunity to fix anything that seems off, so don’t rush the process and be sure everything looks up to your expectations.
Another thing you can do is, instead of cleaning your lines, first take some time to practice the sketching part.
Practice all the shapes and lines needed to draw an ear. Try to simplify them or, the opposite, add even more details.
You can also try different angles or shapes!
Once you feel confident in your sketches, you can then draw a few clean and finished drawings of ears.
What Is The Easiest Way To Draw An Ear Structure?
Ear anatomy can be quite complex, but again we can simplify things.
This tutorial shows how we have already used simple shapes to draw an ear.
However, if you want, add more complex shapes to make the ear even more realistic!
On the other hand, you might want to draw ears even more easily.
You can start any ear drawing using only one shape and three lines! Start by drawing a circle:
Now cut a part of that circle with a slanted line.
Add one curved line for the rim of the ear.
And finally, another, smaller curved line for the tragus.
And that’s it! This is one of the easiest ways to draw the ear structure. Once that’s done you can either leave it as it is or add more folds and curved lines to make it more detailed!
Try different things and see what you prefer. Again, focus on sketching first, with several tries and options.
Once you like your version of ear drawings, it’s time to clean your lines and maybe add some coloring and shading!
Drawing Different Styles Of Ears
Now that you learned the basic structure of the ear, you can try your hand at different types of ears.
Here are two examples:
Round Ears
As the name indicates, these years are going to be very circular. So start with a circle.
Now add a few curved lines for the different folds of the ear. Since we want a round ear, try exaggerating your curves and avoiding straight lines.
Once you’re done, you can add some color and shading!
Pointy Ears
When drawing a pointy ear, instead of a circle, we can divide the year into two shapes: a circle for the bottom part of the ear and a triangle for the top part.
Afterward, all you have to do is add a few lines for the folds and tragus. Again, you can give a few sharp corners here and there to keep it on the theme.
You can even draw the ear lobe slightly pointy if you want to exaggerate your ear!

The top of the ear here is the most important part, and you can exaggerate its pointiness as much as you want.
This is a good start if you want to draw elf ears, for example! Either leave it as they are or elongate the top of the ear as far as you want.
You can also follow our Elf Ears Tutorial, where we go step-by-step through this process, along with several different examples.
Finally, suppose you prefer video format or want to learn more. In that case, you can get our Complete Figure Drawing Course, where we can find several anatomy tutorials and helpful tips on figure drawing.
Patricia Caldeira is the main writer here at Don Corgi. She's an art teacher with over 20.000 happy students across many platforms and courses!
Enjoy your stay and as always:
Keep on drawing!

")
")
